How to build your own solar pool heating system in just a few steps :
The solar-rapid pool heating kit is suitable for almost any size and surface.
You only buy what YOU need.
Read the instructions first (even if it’s difficult 😉 ) to avoid time-wasting assembly errors.
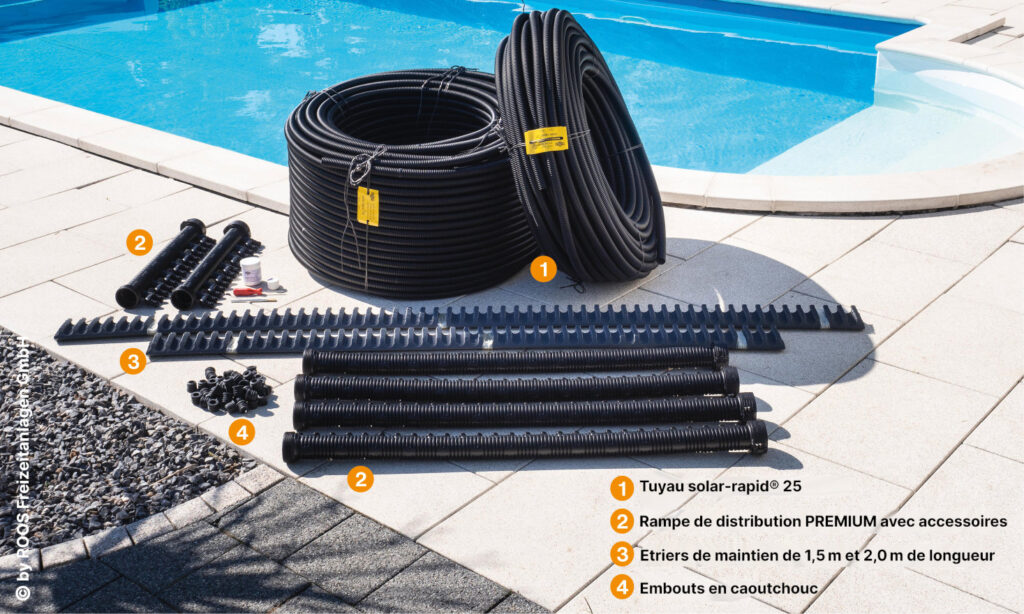
1. Prepare the following parts to assemble your solar water heater
Prepare the following parts to assemble your solar pool heater.
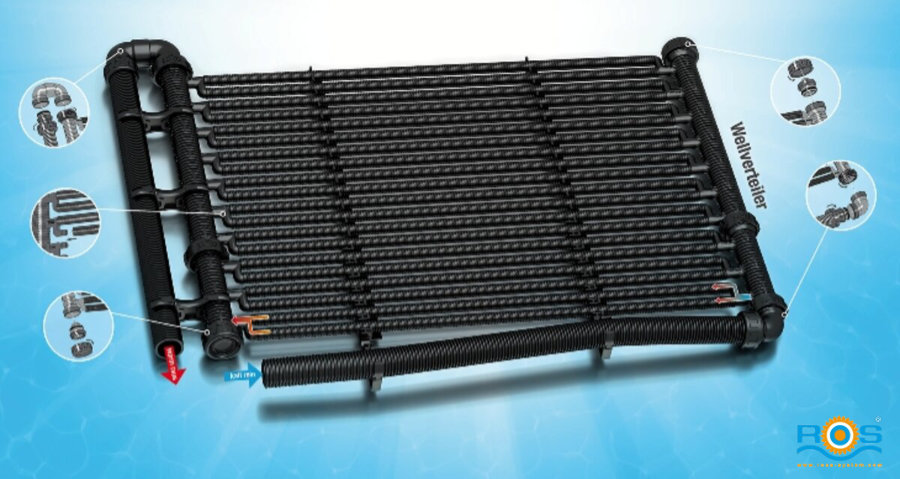
The PREMIUM dispenser is a development within the proven Roos solar pool heating and has been on the market since 2015. It is manufactured in Germany.
Quick assembly: screw on, plug in and you’re done!
No need to glue = immediate loading
2 different lengths: 1 m and 0.5 m manifolds/distributors
Length adjustable in 7 cm increments
One-piece corrugated collector with thread and union nut = robust, highly resistant and solar active
Resistant to sun, storms and frost
Particularly robust solar PP for extra-long service life
Newly developed professional fittings for perfect screw connections
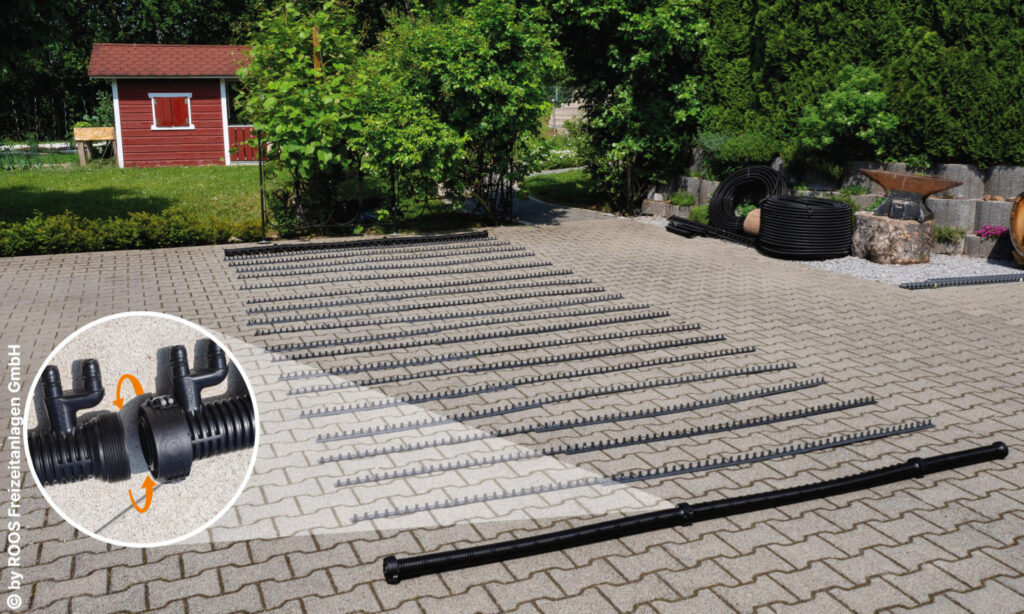
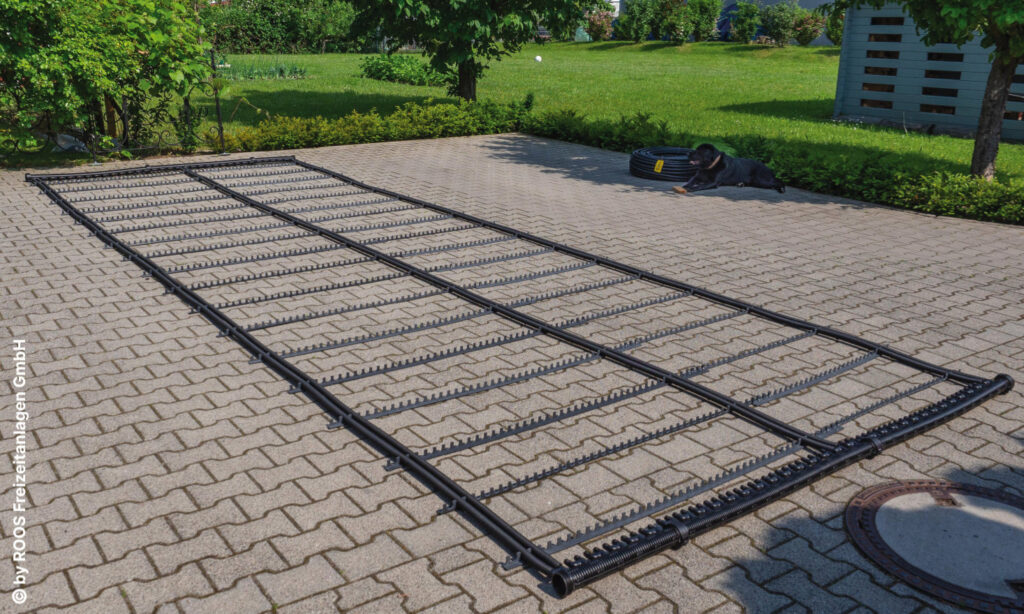
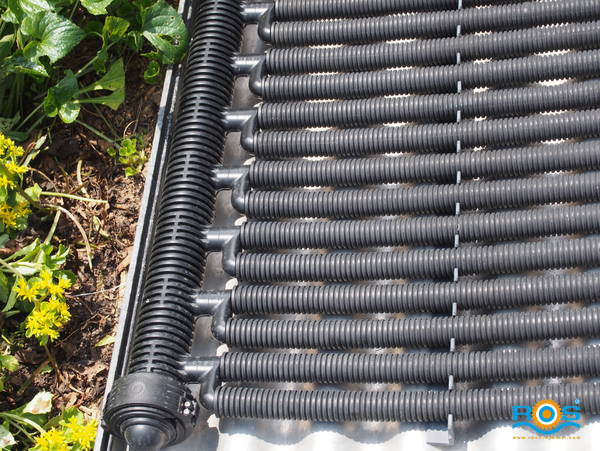
2. Place the Solar Rapid® Premium spacers on a flat, open surface....
The dividers are easy to fit together.
Then divide the support profiles supplied between the dividers.
Observe the following rule:
Flat, approx. 50 cm.
For installation on a sloping surface, approximately 30 cm.
Vertical, e.g. on a fence or wall, approx. 25 cm.
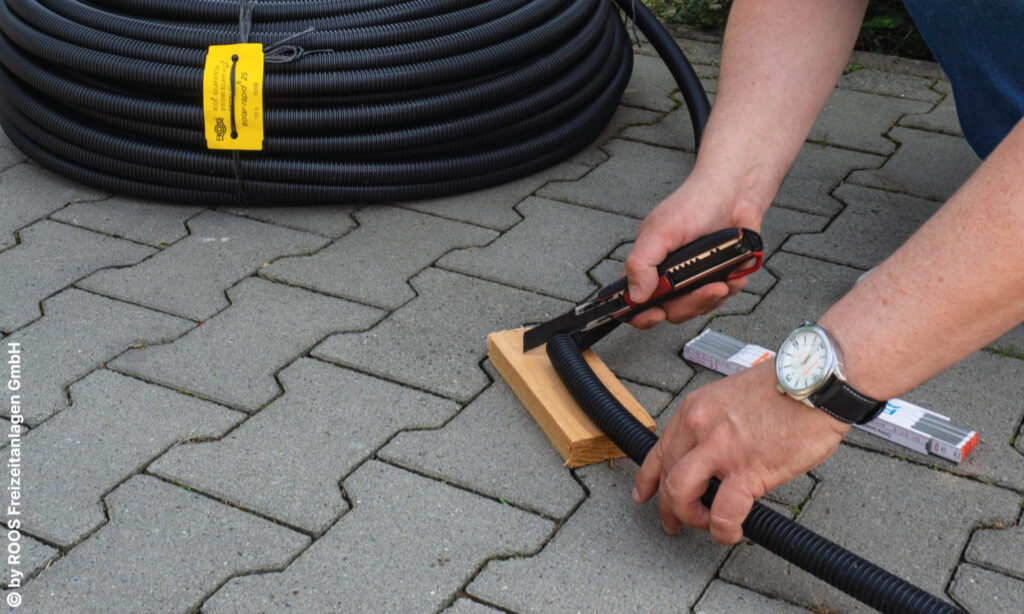
3. Unroll the solar-rapid 25 tube from the roll and cut to length.
Solar pool heating Installation step 3
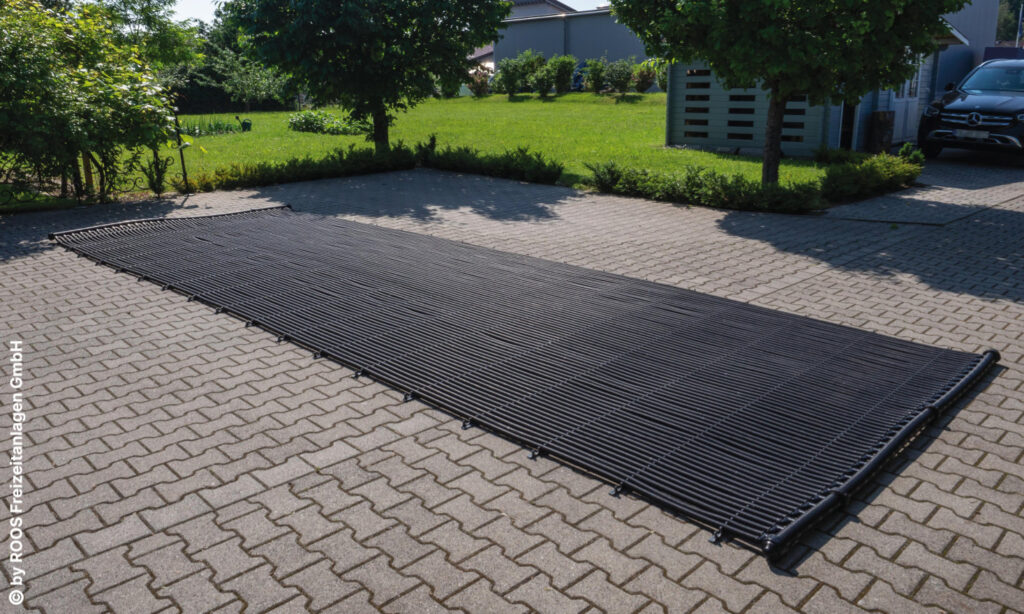
4. Place the ends of the tubes over the nipples on the distribution tube and clip the tubes into the openings in the support profiles - the solar surface is now ready.
Solar pool heating Installation step 4
5. Click on the cut-to-size tubes to insert them into the profiles.
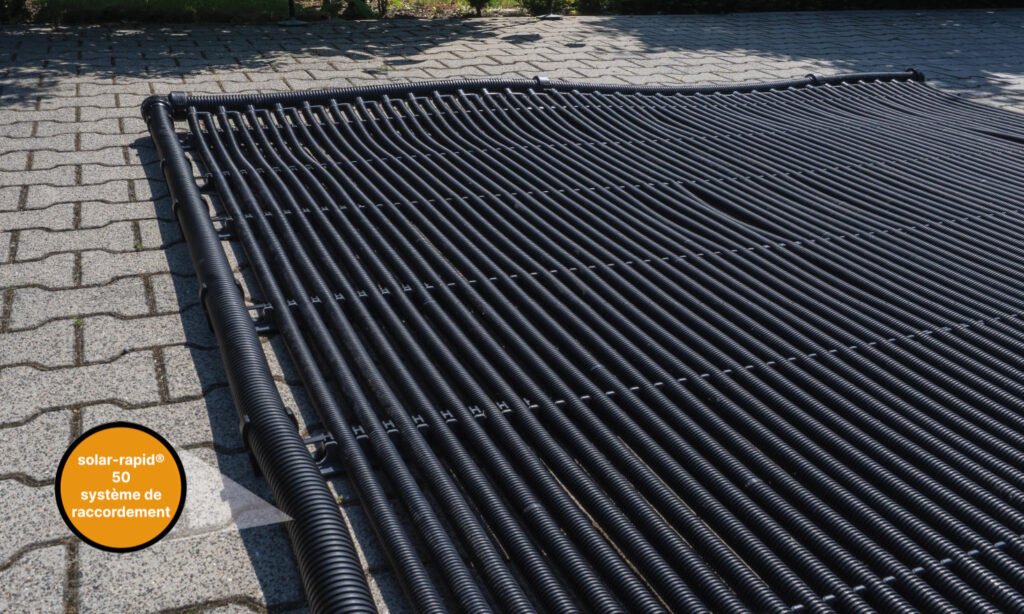
6. Attach the Solar-rapid®50 active solar pipes
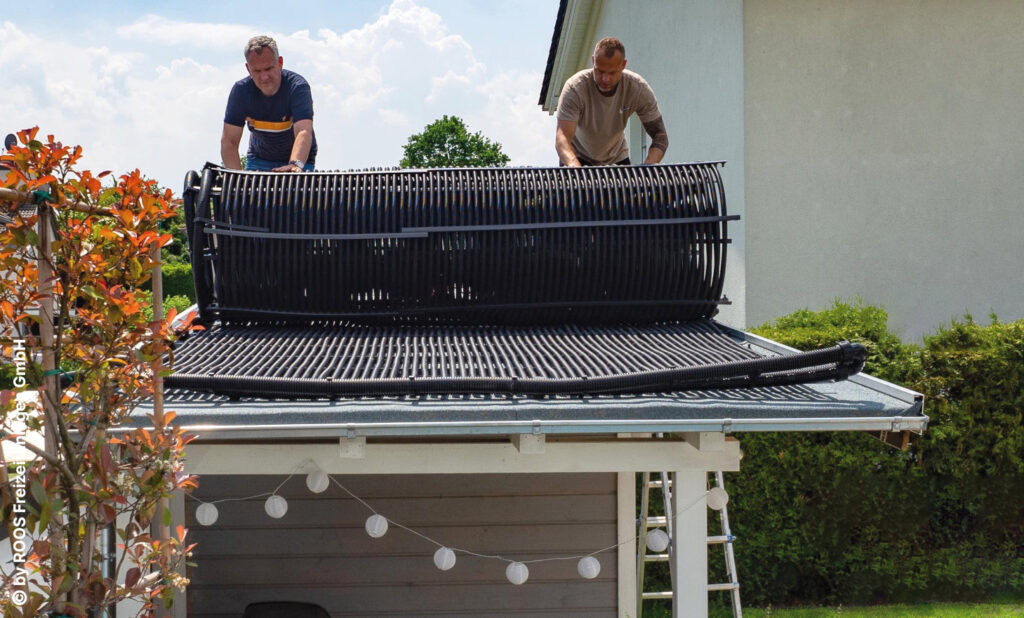
7. Wind up your solar system
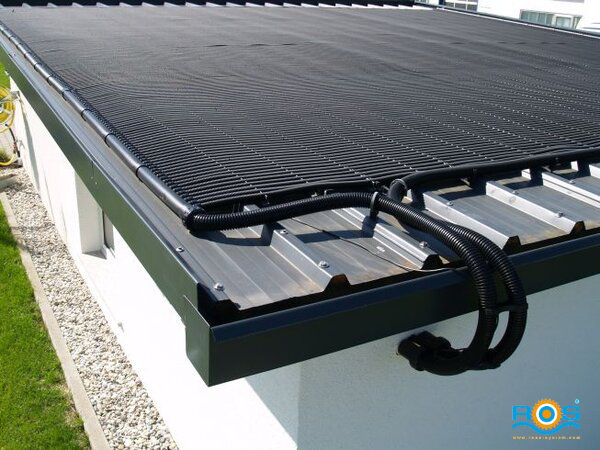
8. Simply roll up the absorber and take it to the place of use (garage roof, etc.).
Solar pool heating Installation step 4
9. Fix the PREMIUM distribution tubes together and fit the retaining profiles at regular intervals.
Assembly is carried out using specially designed professional fittings, and all connections can be non-destructively loosened if necessary.
10. The special connection system enables the absorber to be connected to the water circuit and the solar controller to be integrated ready for connection.
The professional connection system makes it very easy to overcome protrusions, gutters, etc.